
It doesn’t take many tools to make beer, but like any good project making another beer is a good excuse to get a new tool. Here are the tools I’m currently using. I’ve linked many of my tools to Midwest Supply so that you can see it from a vendor, but I didn’t get all these things from them as I’ve used other sites and local home brew stores. So by all means shop around and get a good deal.
Pictures coming soon.
Sanitization
Sanitation is as if not more important than the steps to make the beer. I clean and anything that comes in contact with the wort and beer. Because I do this with every tool I won’t mention sanitation tools in the other sections.
Star San
- This stuff works great and it is nice that it is no-rinse. Here is it on Midwest Supplies.
Spray Bottle
- I keep some star san solution in spray bottle to have some ready at all times.
Oxyclean
- I use this with warm water to clean things out after using them. Try to get the kind without the blue crystals like this one on Amazon.
Sponge
- I only use the soft side on the plastic to keep from introducing more grooves. The hard side gets used on the stainless steel bucket
Yeast Starter
Digital Scale
- I got a pretty cheap one from Bed Bath & Beyond that does 0.1 oz. increments. So far I use it to measure DME for the yeast starter and to separate out hops when I don’t use the whole bag.
Ehrlenmeyer Flask (2000mL)
- I got this size as it should cover almost any size of a yeast starter that I’ll need for 5 gallon batches. The flask is amazing as I can boil directly on the stove, then immediately place it in a ice bath to cool the wort, and rest it on the stir plate. So simple. Here is one from Midwest Supply.
Stir Plate
- This certainly is a nice upgrade to my gear as it isn’t necessary, but eliminates the need for 2nd and 3rd steps. I got the one at Austin Homebrew Supply and think it has a nice build to it.
Thermometer
- I use the one that came with my turkey frier kit (see below).
Mini-fridge
- As luck would have it the mini-fridge I keep in the garage is set to about 40 degF which is perfect for chilling the yeast starter.
Brew Day
Boiling
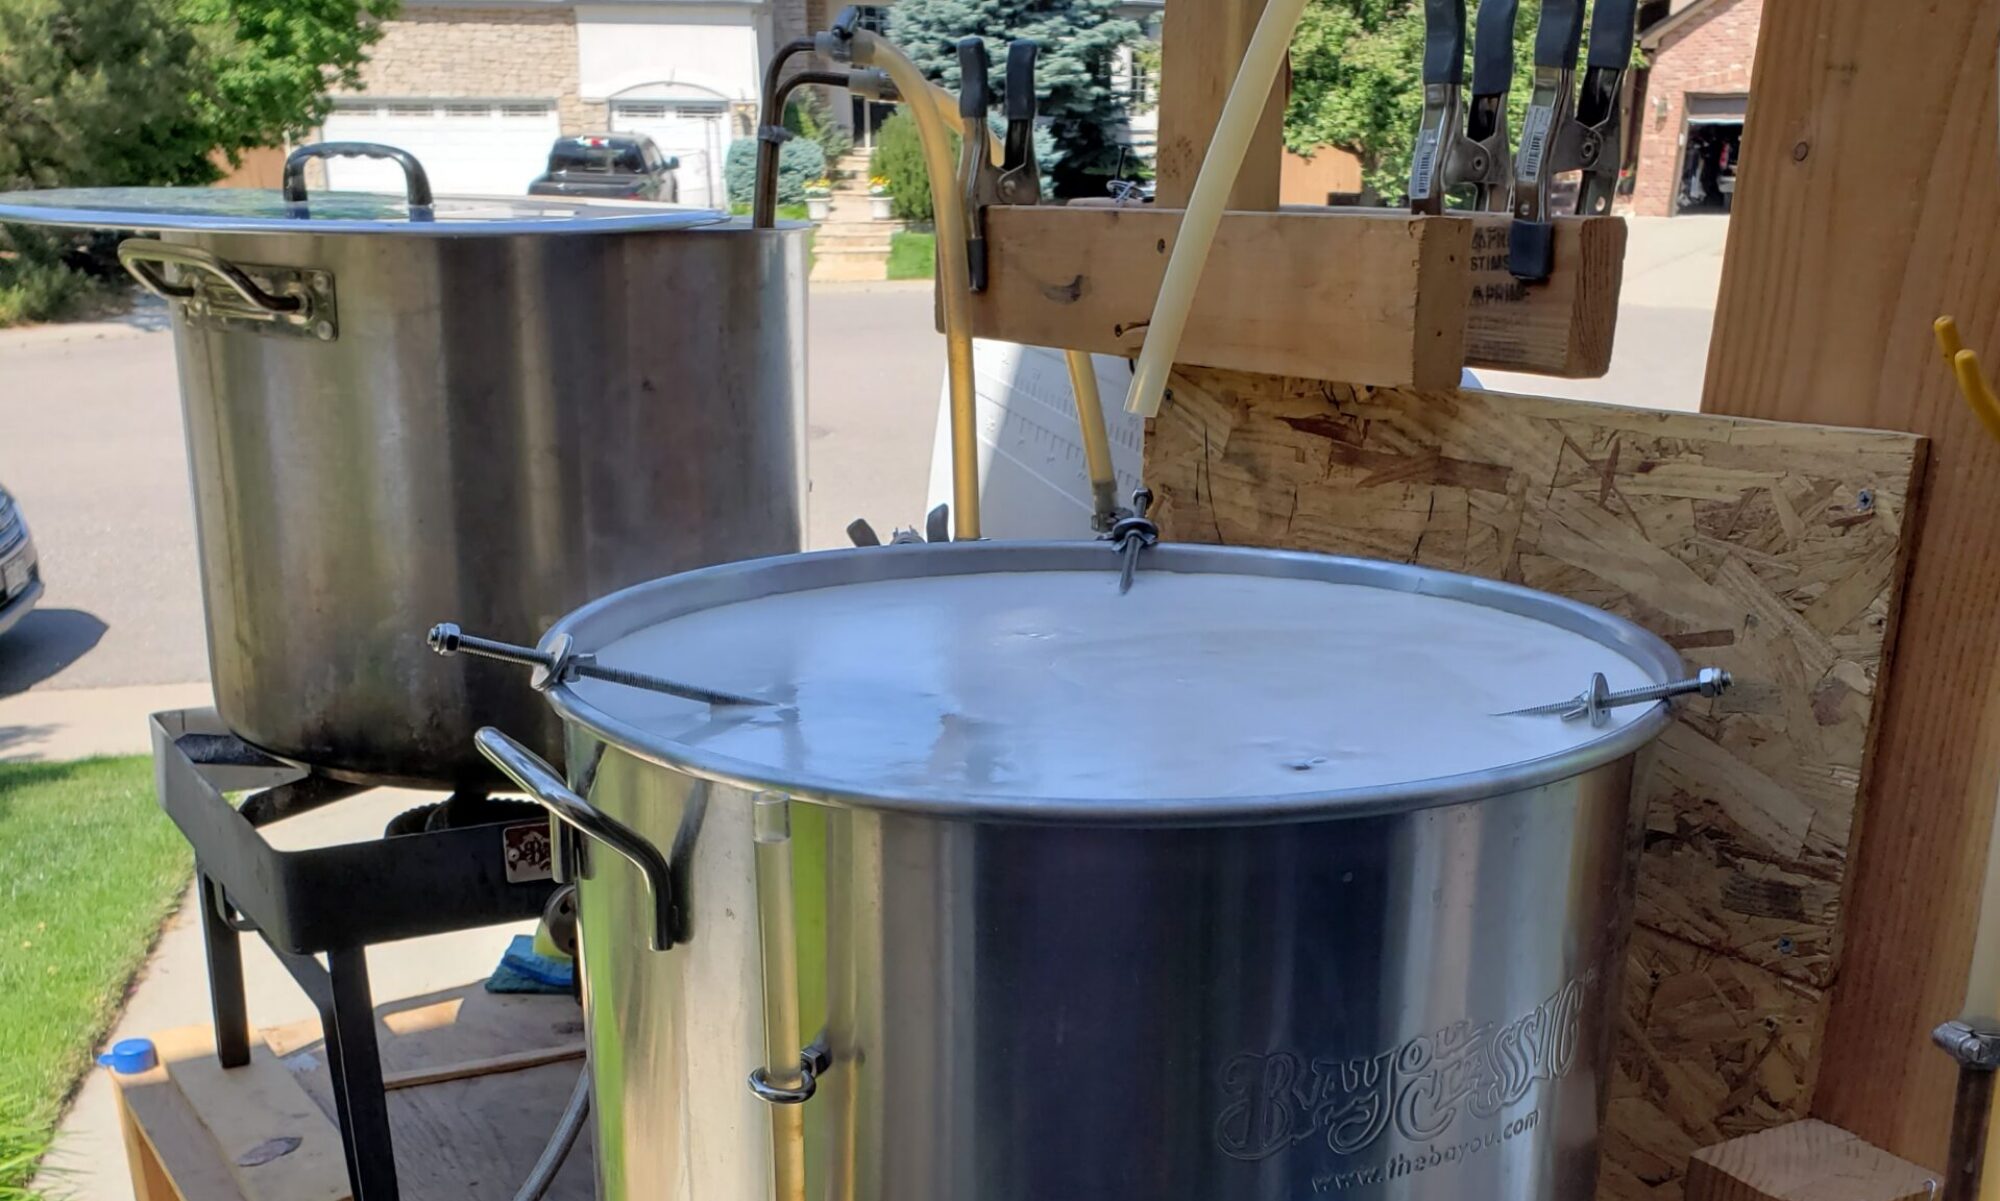
Propane Burner
- I got a turkey fryer from bass pro shop for about $125 that comes with a great little burner (38,000 BTUs), a 30 quart (7.5 gallon) stainless steel tank, and a thermometer. The only problem with the burner is that the safety timer turns off all the time. I took the dial knob off and with some bailing wire lashed up the timer to that it can’t countdown. Not the fanciest method, but it works well.
- This is the bucket from the turkey fryer kit. It is a good size for a 5G batch. I’ve yet to use the drain valve on it to transfer the wort and just leave it closed up.
Thermometer
- This is the bucket from the turkey fryer kit. Seems funny, but I like this thermometer. The scale on it is good, its simple to clean, and it has a clip to attach to the side.
Grain Bags
- I’m in need of an upgrade here, but I use and re-use the muslin grain bags that come with many of the extract kits.
Crossbar and Hooks
- I’ve taken an old fence bar and have cut it down to span across the stainless steel bucket. then with some hooks and twine I hang the grain bags from the bar so that it sits above the bottom of the bucket while the grains steep.
Plastic Stir Spoon
- I have a big spoon that I use to stir the wort while boiling, stirring, and fishing out hop bags.
Countdown Timer from Cell Phone
- I use pretty much any app that has a count down timer. I simply set it for the next thing I need to do.
Chilling
Copper Wort Chiller
- I got my from a the local home brew store as a gift from my super wife. Since I do all my brewing in the garage this makes things so much easier to chill the wort. It chills quite quickly, about 13 mins to reach 75 degF, with cold/ice water running through it.
Drill Pump
- This was a needed upgrade to my wort chiller. The water from the outdoors hose isn’t very cold. The first time I used the wort chiller it took way too long to reach the final temperature. With a drill pump I purchased from Home Depot I can cycle ice water from a cooler and get the results needed.
Drill
- I bought a drill of Craigslist that requires an outlet so that I don’t run into the scenario where the battery dies mid-brew day. The only other requirement in the drill was that it could drive the pump fast enough. I think the pump need 1200 RPMs and the drill I found online does 5000 RPMs
Ice Chest
- I use a cooler lying around in the garage to hold the ice water that the pump circulates.
Hose
- I use the hose directly to the wort chiller when the wort is hot 100+ degF. Once the wort is chilled I put the hose in the cooler and circulate the ice water through the pump.
Transfer
Auto-siphon
- This seems like a must have tool. I’m not sure how I’d do the transfers cleanly without this. I had a problem one time with the tubing coming off the siphon not having a snug fit on the end which allowed air bubbles to form with the transfer. I’m pretty sure I aerated my beer when I wasn’t wanting to. To fix this I got some new tubing and clamped it down with a hose clamp.
6.5G or 7.5G Plastic Bucket
- I got a 7.5G bucket to avoid a mess while fermenting. I’ll continue to use the 6.5G bucket if I’m ever fermenting two beers at the same time, but the 7.5G is my new go to bucket
- I like the plastic bucket for primary fermenting. They are easy to handle, easy to clean, and its easy to get into to do gravity checks. The 6.5G has an okay amount of head room for the foam to settle out, but my last batch fermented so strongly that I ended up with a huge mess. so that hopefully it doesn’t go into the airlock.
Gravity Measurement
Hydrometer with fishing line
- I’m on my third or fourth hydrometer. These are fragile and I must be clumbsy. Anyways with the one I have now I’ve tied some fishing line around it so that I can take measurements without loosing beer taking the sample. Mine looks something like this one on Midwest Supplies.
Floating Thermometer
- This thermometer is more accurate within the 70 degF range than the one I use for boiling. Here is one on Midwest Supplies, mine is a bit different.
Aeration
Drill Paint Mixer
- I use a drill paint mixer from Home Depot. I’m 99% sure this isn’t a food grade product and there is some rust showing on the bar after a few uses. I figure since this only touches the wort when it is hot then it isn’t releasing too many chemicals that I should be afraid of. I also scrub and sanitize it before I use it which is enough of a justification for me. If I’d done my homework I could have found a food grade one like this one.
Storage
Lid
- Just the lid that came with the plastic bucket. I really wish the grooves inside didn’t exist as they make the cleaning much more challenging.
3-piece Airlock
- I use this over an S-lock as it allows the CO2 to escape better. I also use vodka over water to prevent anything creeping back into the beer. Here is one from Midwest Supplies.
Fermentation Fridge
- I used to keep the beer in the back of the garage, but the temperature varies too much and is too hot in the summer for most yeasts. This is a self made project that was fun to make. read about it here.
Cold Crashing
S-airlock
- You have to be careful of the bucket sucking back in as the temperature drops. If you use a 3-piece airlock the vodka will get sucked back into the bucket. Use an S-airlock and this wont happen. Here is one from Midwest Supplies.
Transfer to secondary
Auto-siphon
- Same one mentioned above.
6G Glass Carboy
- I transfer to a glass carboy for the secondary as many beers will stay here for a long while and the glass wont absorb the flavors over time. It is a bit annoying to clean, but not too bad. Most recommend to use a smaller carboy to keep out as much oxygen as possible. I figure that this is probably good enough, especially given the amount of air I expose this to during the transfer. To add to that there isn’t much surface area exposed and I imagine the yeast is still producing a bit of CO2 that provides a small air cushion after a while.
Stopper
- Nothing special just a drilled stopper for the carboy.
S-airlock
- Same airlock as mentioned above. Now that the beer isn’t fermenting there is no need for the 3-piece airlock.
Dry Hopping
I’ve yet to dry hop.
Clearing Agent
Foil
- I create a small funnel to pour the gelatin into the small carboy opening.
Bottling Prep
2 Coolers
- I use one cooler with just warm water and oxyclean to soak the bottles in. The other I use after washing the bottles which has star san in it to sanitize the bottles.
My bar with a faucet sprayer
- I give it a good spray down inside and out to clear out the oxyclean and to break up the gunk inside.
Wire Brush
- I use a wire brush, like a grill brush, to get the labels off “new” bottles.
Bottle Brush
- If I see some stuff in the bottom of the bottle I’ll try scrubbing it. These aren’t my favorite scrubbers as the gunk is usually on the bottom, but the brush only has bristles on the sides. So I jam the brush in so that it bends and to get some bristles to scrub the bottom.
90 Bottle Dry Tree
- A super handy piece of equipment to have to dry the bottles. I got mine from Midwest Supplies. Prior to having this trying to keep bottles upside down was a work of art.
Bottling
6.5G Plastic Bottling Bucket
- Very similiar to the 6.5G fermenting bucket, but this has an opening and valve at the bottom for the beer to come out. Easy to use and simple to clean.
Auto-siphon
- Same one as mentioned above.
Hydrometer
- Same one as mentioned above.
Plastic Bottle Filler
- This handy little thing makes it a breeze to get the beer in the bottles. Mine is similar to this on at Midwest Supplies.
Red Bottling Capper
- If you are bottling a capper is required. This caps pretty well. I always feel like it is kind of flimsy, but when I take a closer look at it it is built well and has some flex just at the end which might be on purpose. Mine is the same as shown at Midwest Supplies.
Bottle Caps
- I just use whatever are the cheapest caps from the local home brew store.
Storage
Fermentation Chamber or Garage
- If I only have one beer going then I’ll just place the bottles back in the fermentation chamber and set the temp for room temp. If I have something going then I just place the bottles in the back of the garage where the temperature is nice.