Beer Name: Falconer’s Success I2PA
Style: Imperial IPA (Rouge XS Imperial IPA clone)
Alcohol: 7.78%
Color: 18
Recipe Source: Austin Home Brew Supply, Extract
Well this is the first beer I’ve made that I’d say that I’m impressed with and say that it is a success. My beers prior to this were okay, but not impressive and I always thought they were not just quite right. This beer is clear, well carbonated, the hops aromas are amazing, and the taste is excellent. It is the second beer since I made the fermentation chamber and I’ve gotten better at the process in general, but either way I’ve happy with the outcome. In fact I was so pleased with my beer that I had a stupid childish grin on my face that Lisa couldn’t help to notice when I had the first bottle. At any rate this beer is my first true success!!!
My Brew Notes
Ingredients
I used the extract kit provided in the link above and added 1oz falconer’s flight hops added with the other dry hops.
Execution Notes
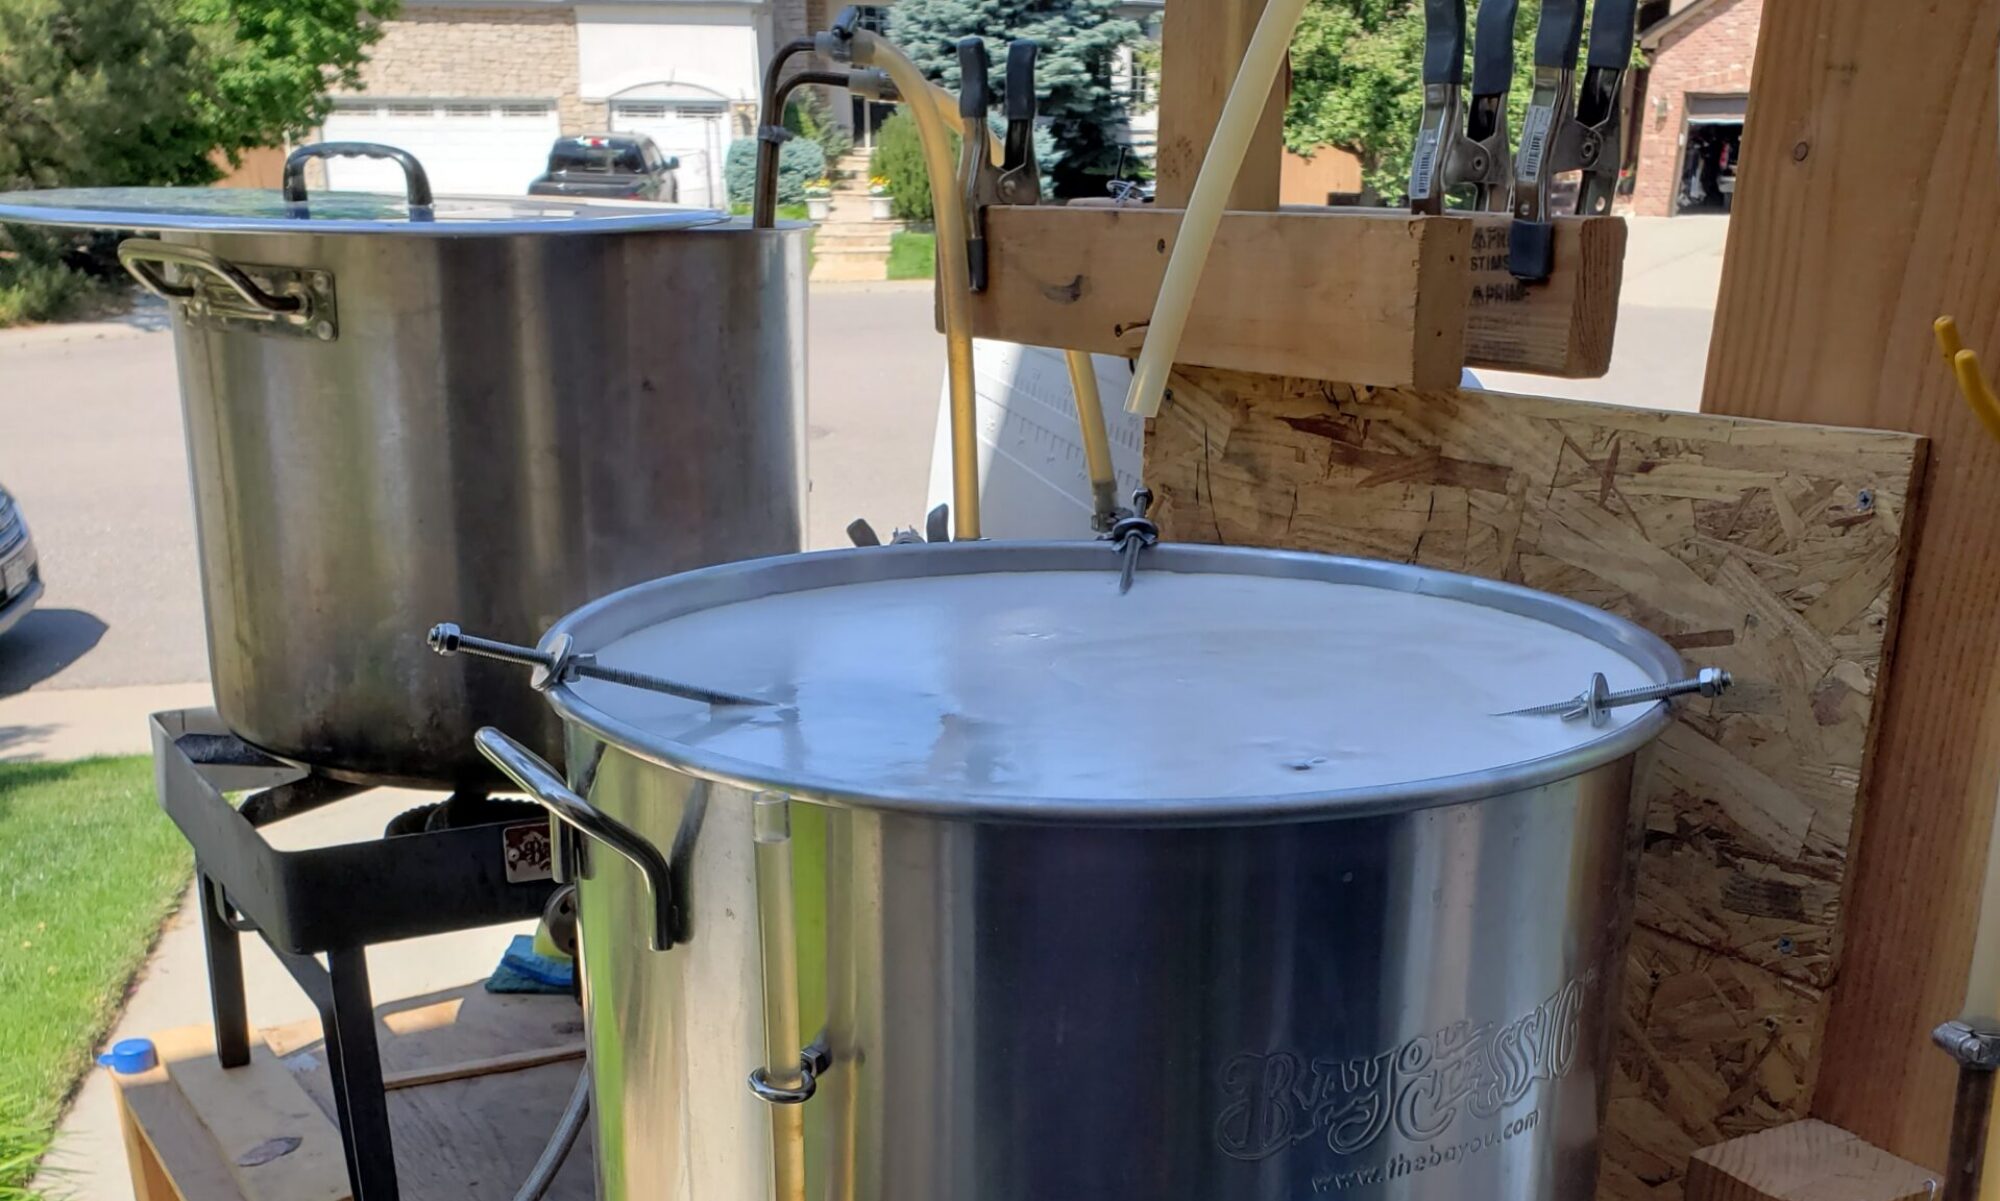
This was the first time ever and used my new flask. I used 6.5oz DME to 1.8mL of water for the first step up. I had a hard time pouring DME into flask and should pour water into measuring cup then back into flask. I also had a major boil over and lost about 0.100mL. For the second step up I used fermcap-S and have zero boil over!! Water took longer to get to boiling since there was so much water stretching the time out more than it should in the future.
This batch went pretty well on brew day. I didn’t do any of the pre-brew day tasks except for buy the ice and water and managed to do the rest while I was brewing without any delays between steps. After about 10 mins into the boil I had to run to the restroom and somehow managed to have a boil over in that time. I was concerned that I might have lost a lot of wort since I wasn’t there to witness the boil over, but after a few questions to the home brew forums I think I was able to determine what happened which caused me to miss my ABV by 0.66%.
The fermentation took off quite vigorously and foamed out of the bucket on the second day. I noticed I had an issue when I saw a fruit fly buzz across the webcam. I was afraid that when I opened the fermentation chamber that there were going to be flys and larva everywhere, but fortunately there was just the one fly. This was a pretty sticky mess to clean up, but wasn’t too bad to wipe out of the chamber. I cleaned out the airlock and let to do its thing
I used a secondary (cold crash prior to transfer) and gave it my first try at dry hopping. I finished things off with gelatin and a cold crash prior to bottling. I also tried something new this time when transferring to the bottleing bucket. I placed the siphon in a fine nylon filter which I think helped keep out some of the muck. I don’t know how affective this was, but it is simple to do and will add this to my normal routine.
Yeast: White Labs California Ale V WLP051
Schedule
- Brew day: 1/4/2014
- Boilover
- Vigous fermentation mess
- Cold Crash Start: 1/13/2014
- Secondary Fermentation: 1/23/2014
- Dry Hopping: 2/25/2014
- Cold Crash 2: 3/3/2014
- Gelatin (32): 3/4/2014
- Bottling Prep: 3/7/2014
- Bottling: 3/8/2014
- nylon filter around siphon
Alcohol
- Target Starting Gravity: 1.80
- Starting Gravity: 1.077
- Target Final Gravity: 1.020
- Final Gravity: 1.022
- Alcohol %: 7.78
Color: 18
Recommendations for next time
Watch the boil over. I lost about 0.15G affecting the OG.