
I was reading about all the heartbleed security hole discovered in OpenSSL and realized that my own webserver was probably at risk. Turns out it was when I checked using Qualys SSL Labs website. After a quick update of my windows 64-bit apache server, which has OpenSSL pre-compiled in it, I’m all safe again until the next issue is found.
Author: Brian Thompson
Jerky Video
The graphics are really slow on my ubuntu setup and I posted on ubuntu for suggestions
http://ubuntuforums.org/showthread.php?t=2207461&referrerid=730740
Unfortunately, I never got any replies….so sad.
All Grain Kettle/Pot Quality Criteria
homebrewtalk.com forum
As with many posts I’m working to step up to all grain brewing, but I don’t want to have to do this again in a year so I’m trying to figure out the right criteria for selecting a kettle. I really don’t want to think in a year from now, “If only I had known …. before I bought my kettle”.
From what I’ve read here is my starting point
1) Choose stainless steel:
as opposed to aluminum which will pot over time
2) Choose 20G or greater kettle size:
I’d like to be able to do 10G batches if my heart desires. A 20G kettle will allow for high gravity 10G batches, smaller kettles will make things moer challenging. also, this eliminate the frequently suggested keggle idea as this is only a 15.5G kettle.
3) Can live without built in valves for now, but can upgrade late if desired:
I’m brewing without valves with no problems. I know valves will most likley make things easier, but it isn’t a firm requirement. Additionally, and perhaps more importantly its possible to punch/cut/drill holes and add valves at a later time, if/when desired
Open questions
4) Does 1-3 sound right, particularly #3?
I’ve read a lot of forums and such so far to get here, but I’m new to this and from what I’ve learned from doing extracts is that there is a lot to thing about when.
5) Does base thickness matter?
Seems like there are ranges from 1mm to 5mm. With most hovering around 2mm. I’m guessing this is for even heat distribution, but how much is enough
6) Does side thickness matter?
ranges from not specified to 1mm to 2.5mm. Seems like just about anything would work. Any issues with punching holes on a thin one later to add valves?
7) Need to be NSF certified?
Some claim to be, many don’t specify
8) build construction/materl
I’m not too familiar with the things I’ve seen a) aluminum wrapped/sandwhiched in stainless steel, b) 20 gauge stainless steel, c) 18/10 Stainless Steel, d) 18/10 T304 stainless steel, e) 3-Ply Bottom, and many more
9) Anything else?
I’m probably way over thinking this as I’ve seen posts from many happy brewers with pretty much all the pots I’ve taken a look at, but I haven’t been able to find any criteria for choose a kettle other than size recommendations. thanks for any feedback.
Ubuntu Media Server Update
I posted a while back that I had a good media server setup, but since then I’ve had a lot of problems getting things up and running on my PS3. Many of my video files are in many different formats and UMS was having issues with some, but not others. I don’t recall if I sorted out what was causing issues, but I was tired of the problems and looked for other options.
In my searching I came across Plex Media Server. There is some type of pay service that they offer, but after reading about this a bit I found that the local media server is free and decided to give it a try. Short story is I think I like it now, but it took a while for me to get up and going.
Issue #1: My first issue is that if you use the apt-get blah blah blah my source list wasn’t pulling the latest version as noted on the website. The fixes seemed to point me to updating the source file with part of the source listing the ubuntu version I was running. Now I tend to be forward leaning when it comes to updates and I’ve stayed with the latest ubuntu versions. Having to update my source file didn’t seem too fun. So rather I decided to just download the file directly from the website copy the link and install directly. At the time I wrote this 9.8.18.290 was the latest version for me
$ wget http://downloads.plexapp.com/plex-media-server/0.9.8.18.290-11b7fdd/plexmediaserver_0.9.8.18.290-11b7fdd_i386.deb .

#sudo dpkg -i plexmediaserver_0.9.8.18.290-11b7fdd_i386.deb
Issue #2: With plex installed I ran into some issues with it detecting my movies. Plex really likes the movies to be in a specific format (see here) and I really didn’t care to rename my files. So rather the way I did this was to create a Home Video Library and then add the folders that I wanted it to detect. With using the Home Video library it will pull any video format regardless of the name.
Issue #3: The other thing is that I wanted this to play through my PS3 or to my android phone using DLNA. Initially, Plex could see all the videos and added them to the library, but when I tried to play then I always go some errors. The post on Ant Dicken’s Blog had the answer for me. See my files are all on a USB external drive and ubuntu was adding them to my /media/<username>/<drivename>. When it did this plex couldn’t get to the files. So as the post shows I modified my /etc/fstab file to directly mount the drives to /media/<drivename>and things worked. To get the needed information to do the modificaiton I used the two commands below.
$ mount
$ sudo blkid -o full -s UUID
Note, make sure you make a backup of the fstab table before you modify it. This saved me as after my first modification I had an error that was causing problems with ubuntu.
With those three fixes I was up and running.
A quick note about playing the videos on the PS3. Fast forwarding doesn’t really work, but if you hit triangle and then in the upper left choose scene selector you can jump forward through the movie.
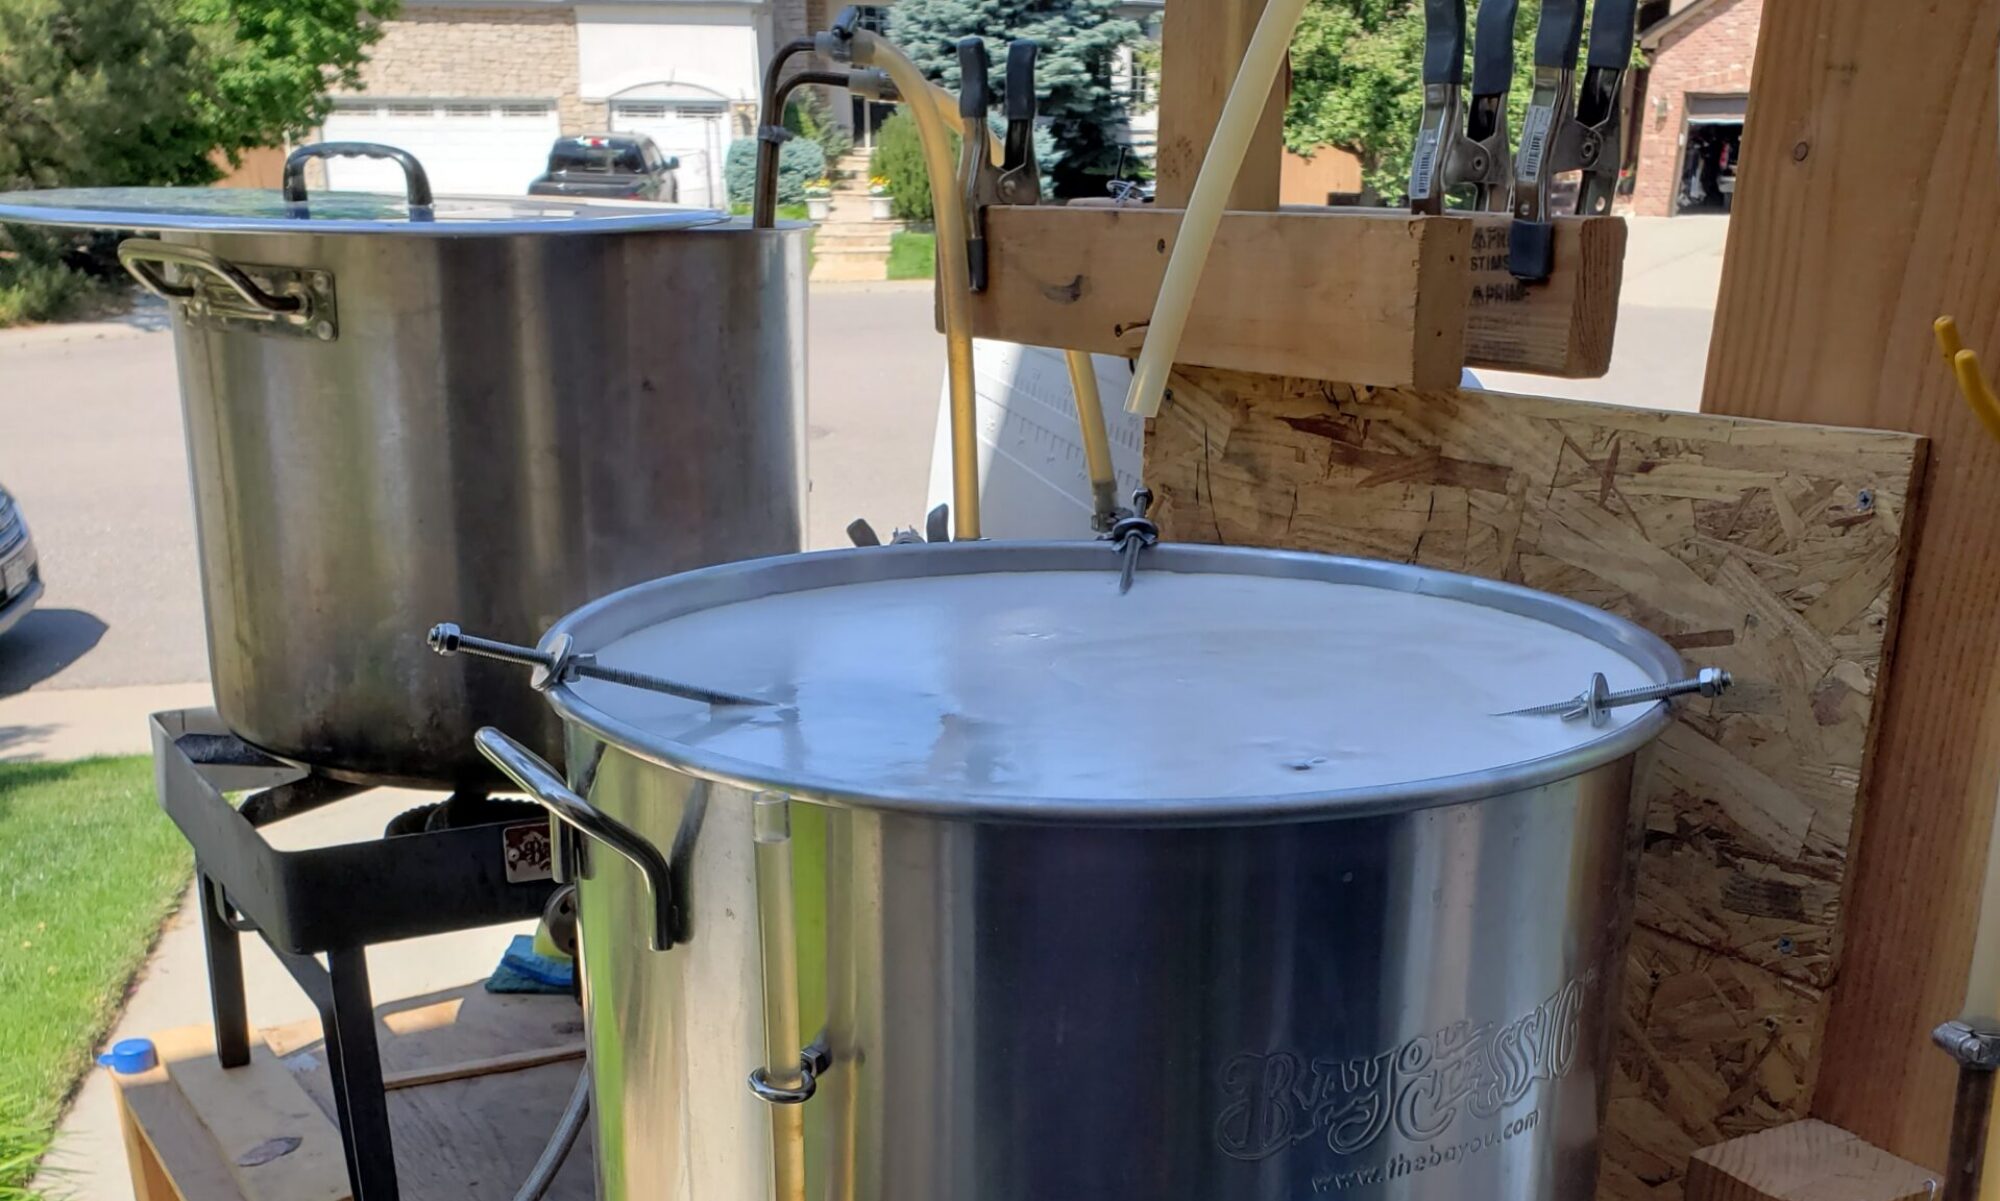
Brewing Tools
I wanted to talk about a few new tools that I got to make beer and got a bit carried away and created a page of all the current tools I’m using now. Here is the page. I’m thinking that I’ll make additional posts as I get new tools because you can never have enough tools.

Beer 5 – Honey Bacon Smoked Porter
Final Beer Name: Where’s the Bacon???
Style: Smoked Bacon Honey Porter
Alcohol: 6.49%
Color: 35
This is my first beer since making my fermentation chamber and using my improved process with a drill pump and paint mixer. Besides enjoying the beer I’ve had a lot of fun using my new toys and working on making better better.
The first sip was on new year’s eve which is a few days early for the 3 weeks in the bottle. The beer wasn’t very carbonated so I waited a few more weeks to 1/18/2014 see if it just needs more time or perhaps the bacon fat killed off my bubbles. Also, there appeared to be no bacon flavor which is kind of disappointing. I was really worried that it would be bacon-y so I’m much happier to err on this side of the line, but wish there was still a hint of bacon. I’m wondering if the flavors might come out a bit better after more time in the bottles.
Well the final taste test still doesn’t have much/any bacon flavors or aromas, but that’s okay. The beer has a really smokey flavor with a nice smooth mouth feel. The beer seems very clear, which I’m not too surprised as there was almost no trub in the carboy after transferring to the bottling bucket. There isn’t too much carbonation, but enough to say it isn’t flat. I’m wondering if the bacon has impacted that, I’ve read the bacon fat can kill the bubbles.
My Brew Notes
Ingredients
This recipe is a specialty brewing kit plus a few of my add ons. The kit is from Midwest Brewing Supply and is a Honey porter extract brewing kit which includes (I forgot to take notes on the specifics:
- some specialty grains, maybe?
- Some extract
- Honey (30 mins)
- 1oz Kent Goldings hops (60min)
- 1oz Cascade hops (2 mins)
- priming sugar
then to get some smoke flavor I added
- 1lb Smoked Malt Weyermann steeping grains
And for the bacon flavors I dry-hogged” as mentioned on BYO.com which suggests 5oz of bacon added like a normal dry hop schedule. To get there I started with
- 1lb of uncooked bacon
Execution Notes
Schedule
- Brew day (0) – 11/9/2013
- No boil over which is good.
- Fermenting didn’t start for about 36 hours. Worried that yeast didn’t take, but I did see bubbles before pitching it so it should have been fine. Will look to yeast starter going forward as recommended by boydster in other post
- Bubbles for quit after about 1.5 weeks. I was going to do a test but broke my hydrometer. I’ll probably update. my process to do hydro tests with the hydrometer attached to fishing line so that I don’t waste beer.
- No or really slow bubbles on day 11.
- waited a couple of days since I couldn’t do a hydro check for the moment.
- Cold Crash Start (13) – 11/22/2013
- Since the fermenting took longer than expected I delayed the cold crash a couple of days. Should look into taking measurements.
- It took about 1 day for the chamber to reach the cold crash temp. I changed the cold crash temp to ~40 so that the A/C wouldn’t turn on every 3 hours. Probably get it closer to 36 for the next crash
- Secondary Fermentation (16) – 11/25/2013
- The auto-siphon had a gap at the siphon to tubing. I’m pretty sure I exposed the beer to a lot of oxygen. Need to get some clamps before the next transfer.
- I left the chamber off for ~ 1 day for the beer to more naturally rise back to room temp. Near room temp I turned on the chamber which the heat pad did a bit of work for the last few degrees.
- Chamber set for 19.5 +/- 2.0.
- Dry “Hogging” (27) – 12/6/2013
- In reading about how to do the bacon it was clear that I needed to remove as much fat as possible so that the beer doesn’t stay flat. I’m not sure why, but apparently the fat will cause the beer to not hold the carbonation or something. So to do this I started with my 1lb of bacon and trimmed off as much fat as I could with a knife. Then I cooked the bacon in the oven on a rack that would allow for the grease to drip out. A few times while is was cooking and while flipping the bacon I used a paper towel to absorb the standing grease on the bacon. When it was all cooked my 1lb of bacon was about 3.5oz which was short of the 5oz I was targeting. With the bacon cooked I simply open up the carboy and dropped them in.
- Cold Crash 2 (31) – 12/10/2013
- Gelatin (32) – 12/11/2013
- Bottling Prep (35) – 12/14/2013
- Bottling (36) – 12/15/2013
- Very little trub in the carboy and I don’t think I sucked it up into the bottling bucket. I’m not sure if this is due to the gelatin (which I don’t really see at the bottom as much as I thought I would) or from doing the first cold crash.
- Bottled 22 220z bombers, and 11.5 12oz bottles for a total of 588.5oz (22*21+11.5*11).
- Set the fridge to 20+/- 2 for carbonating
- Took about 3 hours to bottle and clean up. Need to track times for other steps to better understand how long it takes to do things.
Alcohol
- Target Starting Gravity: 1.06
- Starting Gravity: 1.059
- Final Gravity: 1.011
- Alcohol %: 6.49
Color: 35
Recommendations for next time
- Look into using more bacon and/or stripping the bacon flavors out using vodka before brewing the beer
- Might use a little less smoke, Weyermann grains, by ~1/4lb to allow more of the honey flavor to show.
Specialty Grain Brewing Process – Ales
homebrewtalk.com forum post
I’ve only been making beers for a short while and it seems that I’ve had so many questions about how to go about doing it while I was in the middle of making the beer. So I wrote down my game plan for specialty grain brewing process on my little website (not a commercial site). I’ve also pasted the text in here in case you don’t care to go to a unknown location, but I didn’t mess with the formatting. Let me know if you have any advice and perhaps this will help someone else. Thanks.
http://bt.beerprojects.com/wordpress/?p=716
Low OG with All Extract brew
homebrewtalk.com forum post
I have a brew that was supposed to have an OG of 1.080. When I measured it I got a reading of 1.077 after the correction (1.076 at 66 degrees). I took several measurements, spinning the hydrometer each time and consistently got the same result. I have a slight boil over, but other than that there really isn’t anything I can figure out how I didn’t get the expected OG. On top of that, using brewer’s friend extract calc I should be at 1.085 (5.25G water, 12 lbs LME).
Any ideas where I might have messed up?
First Yeast Starter
After posting my beer making process to the Homebrew forums someone suggested that I look into yeast starters to ensure that I was getting enough yeast to ferment the wort. A sign of low yeast is a slow start and from my last beer I certainly saw that with the fermentation not starting for 2-3 days.
After looking to this a bit more it turns out that I haven’t had enough yeast for most of my beers (low pitch count). With my discovery being around Christmas time some of my wish list items were a 2000mL Ehrlenmeyer flask and a stir plate. You can do starters without these, but the flask makes the heating and cooling pretty simple and the stir plate pretty much ensures that you only need one step for most beers.
Well I got the flask to use for my first yeast starter, but the stir plate is on back order. For the beer I was making the OG is supposed to be 1.080 and according to the yeast calculators online I needed two steps. The first step could fit in the flask, but the second step needed 4.5L which is too much for my flask. I had a huge boil over here and it made quite the mess. In the end though my yeast starter went great and caked out nice.
For the second step I wanted to avoid the boil over and after reading several forums there is some stuff called Fermcap-S which is an anti-foaming agent. I went to the local home brew store and got a small bottle. With just a few drops of this stuff I had no risk of a boil over. This stuff is a must have. Well since the second step wouldn’t fit in my flask I got some of the new cooled wort and put it into the flask (after pouring out the liquid from the first step). I then shook it around real to break up the yeast cake and poured the whole thing into the cooled wort. After a good amount of mixing I poured the contents into two containers, the flask and a emtpy bottle. I followed the same steps and ended up with a really nice yeast cake in both.
When I used the starter for my beer I took some of the wort and gave each a good shake then pour the contents into the wort. After just a few hours the yeast was fermenting and it did it so vigorously that I got a block air lock and a big mess in the fermentation chamber. I had a good amount of foam on top of the wort when I packed it all up so hopefully with a bit more care I can avoid the air lock blockage, but my yeast starter sure worked great. Next time I hope to have the stir plate in hand to see how much easier (one less step) things go. If you are curious about the steps to make a starter I’ve written my process on a fixed page so that I can keep refining it.
time to cold crash temperature?
homebrewtalk.com forum post
I’m curious to see how long others are seeing it take for the beer to get to the child crashed temperature? I have mine in a new self made fermentation chamber and it seems that it takes about 15-20 hours for it to go from 70 degrees to 37 degrees. The chamber is cold right away, but the thermal transfer is taking longer than I imagined