Beer Name: Kolm Knights – Dusk (first barrel), Twilight (second barrel), Dawn (no barrel)
Style: Imperal Baltic Porter (Pohjala OO Clone)
Brew Day: 4/21/2104
Alcohol: 9.7% (not including barrel changes)
Color: 81
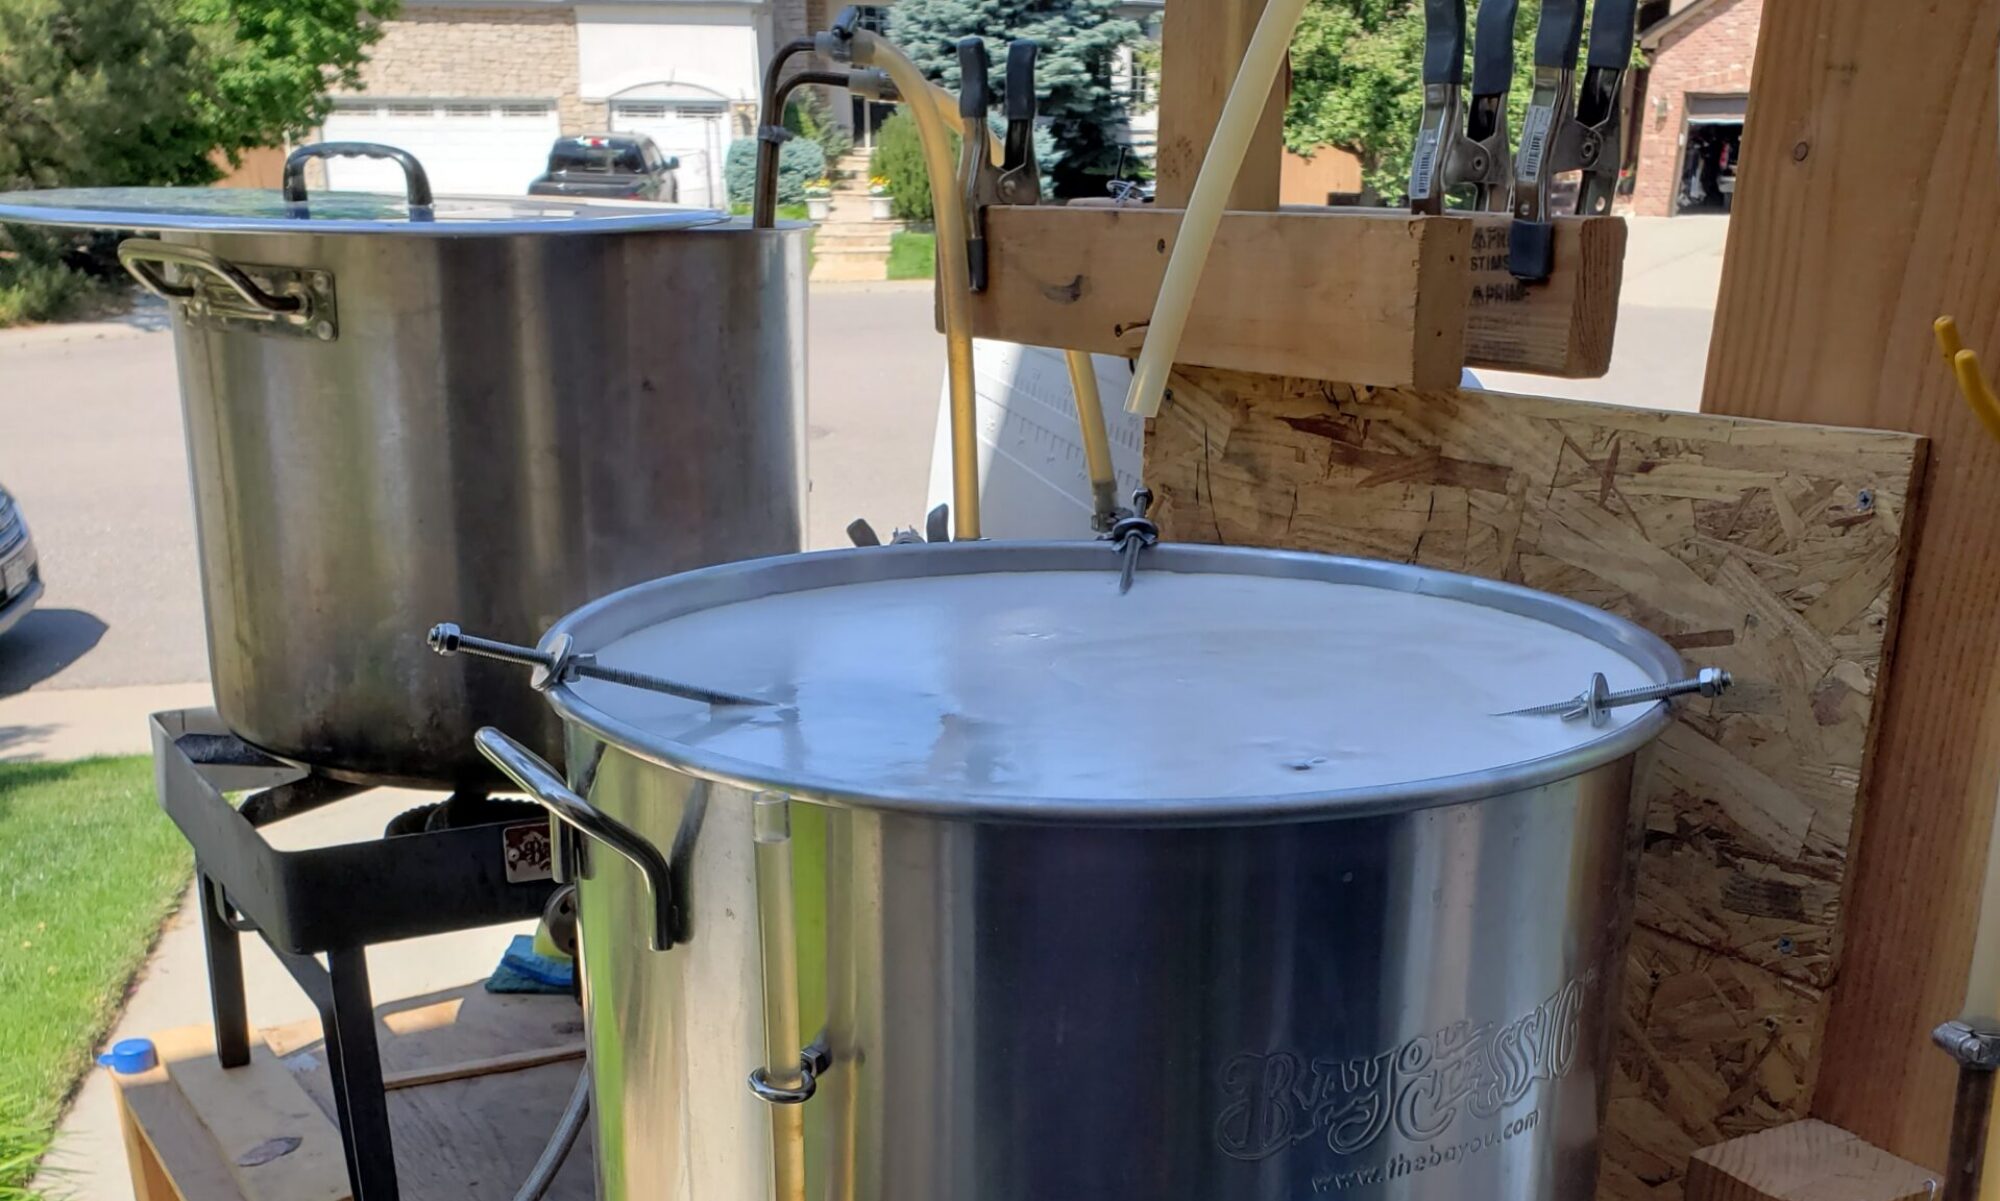
This beer was a struggle. Chris from Pohjala Brewing set me up with an amazing recipe. Since this beer was so big I figured I could get a partygyle off of the second running like I did with my Kate the Great Clone, the Empress. The plan was for 11G batch, the mash in was packed full, and the boil started as planned. About 15 mins left in the boil I did a measurement and discovered I had way too much wort. I did some quick calculations and determined I needed to boil for another 2 hours on top of the planned 1 hour boil. So 3+ hours later I called the boil complete and did all the normal cold crash, oxygen, and yeast pitch. The fermentation kicked off like a machine and twice I had to clean the bottom of the fermentation chamber. Well after about 7 days I measured the FG and it was 1.044 rather than a planned 1.026. I gave it a few more shots of oxygen, roused the yeast up, left it for a few days… and no changes. So I assumed that my yeast tuckered out. Using the yeast from one of the partygyle beers, I did a starter to get things going and re-pitched. I got a few small bubbles over the next too days, but no real changes. I think what I saw was the starter fermenting out, but that made me think that the yeast wasn’t the issue. I started tinkering with the recipe in beersmith to see if I could find any errors. Randomly I selected the muscovado sugar to be non-fermentable (like lactose) and what do you know it predicted the FG to be right where I was at. So either something was off with the muscovado sugar, I added it to fast and caramelized it, or the 3+ hour boil caramelized it. Either way this at least eased my mind about what was happening. To correct for this I make a simple extract porter beer and blended it in at about a 10/4 ratio. This got the FG down to 1.032 which seemed okay for this large of a beer and kept the ABV in the range that I was aiming for. So instead of 10G I ended up with about 14G. I’ve placed 5G in a whisky barrel that my brother had and let that sit for about 2 months. The taste sample was amazing and I’ve now bottled 5G of the barrel beer (Dusk) and 5 G of the non-barrel beer (Dawn). The other 4G are now sitting in the barrel and will be Twilight whenever I bottle it. All the bottles were bottled with cask ale yeast and priming sugar. I haven’t yet cracked a beer yet as I’m waiting until Thanksgiving or so. Updates to come
I spent way too much time coming up with a beer name for this. The beer name for the original recipe is OO which means night in Estonian. In trying to be clever I wanted to do a play on words and call this Knight or tie this back to Estonia. I researched Estonian knights and learned about several famous clans(?) including Order of the Cross which most everyone knows by the cross on the shield. Since I knew I was ending up with 3 variants of this beer I was looking for a succession class or something that would work nice, but I struck out here. Instead I landed on Kolm which is Estonian for three. I like the way Kolm Knights looks, even if I am probably mispronouncing Kolm, and it translates to 3 Knights, very fitting. Since OO means night, I’ve named each of the variants a phase of the night. And there you have it clever beer name that nobody will probably ever get if I didn’t write this down. I’ve worked the estonian knights onto the beer cap which depicts the Order of the Cross shield on it. Yes, I spent too much time thinking about this.
PHOTO GALLERY TO COME (after I open the first beer)
My Brew Notes
Execution Notes
- Had to boil for 3+ hours. Later discovered that this was the first beer where I had lids on the kettles when warming the water. I used to loose about 1G and with 2 kettles I calculated needing 2G more. With lids I don’t loose any water and have adjusted the spreadsheet for next time
- I’m weary of muscovado sugar since it didn’t ferment out. It was probably me, but I’m still recovering PTSD over this beer
- Large beers need a blow off tube. I had to clean off 2 huge messes. Drew helped me clean (ha)
- The blender beer saved this batch. I think I got this idea from a Session podcast on the Brewing Network
Recipe Info
- My Recipe: Beersmith Report
- Blender Beer Recipe: Beersmith Report
- Recipe Source: see my Research below
- Schedule Link: #25
Recommendations for next time
- Get the sugar to ferment and try the recipe exactly the same way!
Research
Pohjala OO Info
- ABV=10.5%
- FG=1.104
- OG = 1.026
Pohjala Head Brewer Email
Hey Brian,
This is Chris, Head Brewer at Põhjala. Apologies for the late reply, it’s been a busy week here.
Awesome to hear you’d like to try brewing Öö, it started on the homebrew scale so it’s quite an honour to hear that 🙂
We use:
36% pale malt
39% munich malt (light)
9.75% carafa type 2 special
4.9% dark roasted crystal (Simpsons)
4.9% chocolate malt
4.9% cara 300
And about 10% of the fermentables will come from a dark muscavado sugar – currently we add that at T-60.
We use Viking malt from Finland for the majority of our malts, and they have a very British style, so 2 row probably wouldn’t be the best substitute for the pale malt, I’d rather try Maris otter if you can get it.
Gravity starts at 24.5° and finishes at 6.5°, and we bitter to approx 65-70 IBU using magnum, with a finishing dose of Northern Brewer at T-00.
In terms of yeast, we ferment this one at cool temps of around 16°c with WLP090, San Diego Super yeast, which we use as our house strain. A cool fermentation helps as you really can’t feel the alcohol.
Water profile helps a lot as well, but that would be harder to give some tips on for me.
Otherwise, that’s about it – hope it helps, and good brewing!
Aitäh,
—
Chris Pilkington
Head Brewer